The 1996 Jeep Cherokee (XJ) holds a special place in automotive history. Its rugged capability, boxy charm, and enduring reliability have made it a favorite among off-road enthusiasts and daily drivers alike. However, after years of loyal service, the interior of a '96 Cherokee can show its age. Sun-faded plastics, worn upholstery, and malfunctioning components are common issues. This article serves as a comprehensive guide to understanding, sourcing, and even replacing the interior parts of your 1996 Jeep Cherokee, helping you breathe new life into this iconic vehicle.
Why Bother with Interior Restoration?
Revitalizing a Legend: A Deep Dive into 1996 Jeep Cherokee Interior Parts
While the XJ is known for its rugged exterior, a comfortable and functional interior enhances the driving experience significantly. Restoring or upgrading the interior offers several benefits:
- Improved Comfort: New seat upholstery, a functional climate control system, and a clean environment make driving more enjoyable.
- Enhanced Value: A well-maintained interior increases the resale value of your Cherokee.
- Personalization: Swapping out parts allows you to customize the interior to your specific tastes and needs.
- Safety: Replacing worn or broken components, such as seat belts or dash trim, can improve safety.
- Pride of Ownership: Restoring your Cherokee's interior is a rewarding experience that demonstrates your dedication to preserving this classic vehicle.
I. Core Components: Seats, Carpets, and Headliner
These elements form the foundation of your Cherokee's interior. They're often the first to show wear and tear, significantly impacting the overall aesthetic.
- Seats:
- Condition Assessment: Inspect for rips, tears, stains, and sagging. Check the frame for rust or damage.
- Repair vs. Replace: Minor tears can be stitched or patched. Severely damaged seats are best replaced with new upholstery kits or aftermarket seats.
- Upholstery Kits: Pre-cut and sewn fabric or vinyl covers designed specifically for the '96 Cherokee. These offer a cost-effective way to restore the original look.
- Aftermarket Seats: Provide increased comfort, support, and customization options. Consider bucket seats with adjustable lumbar support for long drives.
- Installation: Upholstery kits require removing the old covers and carefully installing the new ones, using hog rings and pliers. Aftermarket seats typically bolt directly into the existing mounting points.

- Carpets:
- Condition Assessment: Look for stains, rips, and general wear. Check for moisture, which can lead to mold and rust.
- Replacement Options: Molded carpets offer a perfect fit and factory appearance. Universal carpets can be trimmed to fit but may require more customization.
- Preparation: Remove the seats and center console before installing new carpet. Clean the floor pan thoroughly and address any rust issues.
- Installation: Position the carpet carefully and secure it with adhesive in key areas. Trim any excess material.
- Headliner:
- Condition Assessment: Sagging or peeling headliners are a common problem. The foam backing deteriorates over time.
- Replacement Options: Pre-cut headliner boards or fabric that can be glued to the existing board (after removing the old fabric and foam).
- Installation: Removing and reinstalling the headliner board can be tricky. Take your time and be careful not to damage the trim pieces. Consider using a spray adhesive specifically designed for headliners.
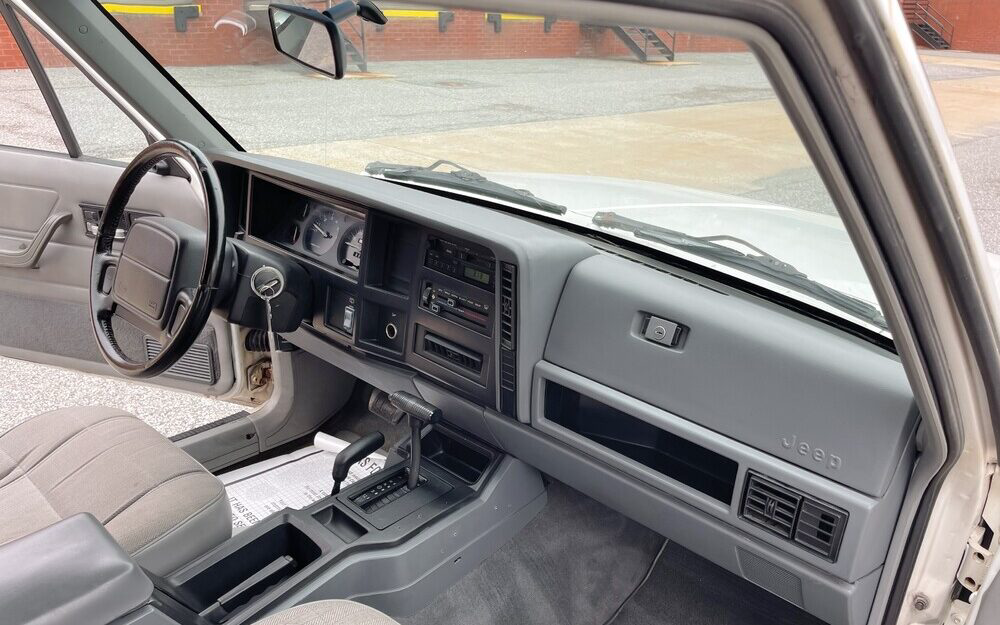
II. Dashboard and Trim: Restoring the Cockpit
The dashboard and trim panels are crucial for both aesthetics and functionality.
- Dashboard:
- Condition Assessment: Look for cracks, fading, and broken vents.
- Repair vs. Replace: Minor cracks can be filled with epoxy. Severely damaged dashboards may need to be replaced.
- Dash Covers: An inexpensive option to cover up cracks and imperfections.
- Replacement: Replacing the dashboard is a more involved process, requiring the removal of the steering wheel, instrument cluster, and various electrical connections.
- Trim Panels:
- Door Panels: Often suffer from broken clips, loose fabric, and worn armrests. Replacement panels or repair kits are available.
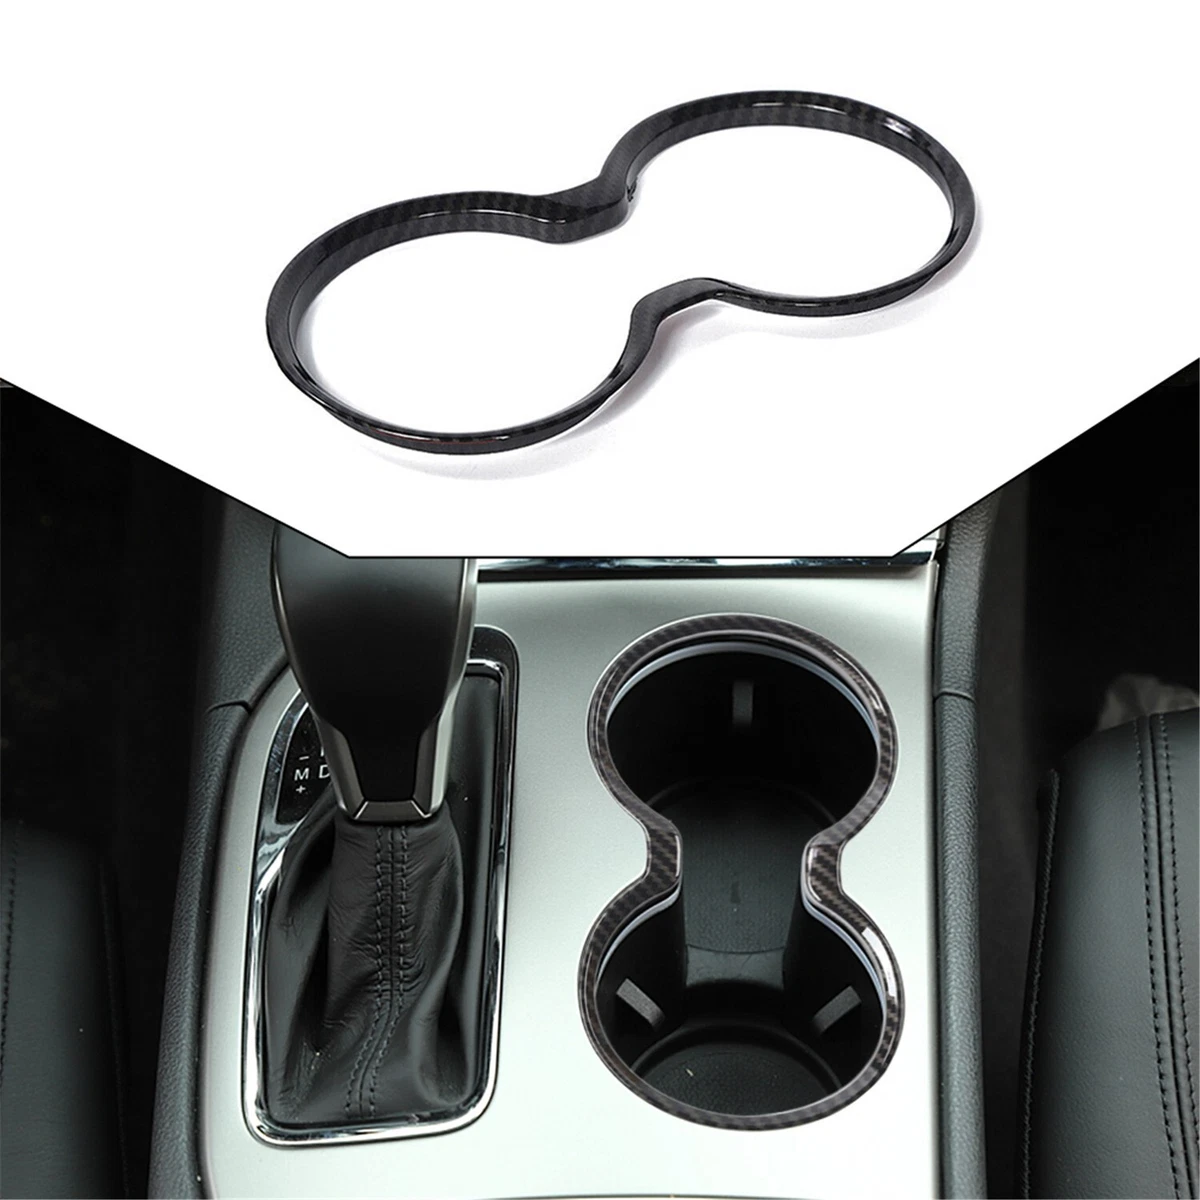
- Center Console: Can be replaced or repaired to improve storage and functionality.
- A-Pillar Trim: Prone to fading and cracking. Replacement is usually the best option.
- Cleaning and Restoration: Use interior cleaners specifically designed for automotive plastics. Consider using a UV protectant to prevent further fading.
- Instrument Cluster:
- Functionality: Ensure all gauges and lights are working correctly.
- Replacement Bulbs: Replacing burnt-out bulbs is a simple way to improve visibility.
- Refurbishment: Consider cleaning and polishing the instrument cluster lens to improve clarity.
III. Climate Control and Electronics: Comfort and Convenience
These systems ensure a comfortable and functional driving experience.
- Climate Control:
- Heater Core: A common failure point, resulting in coolant leaks and poor heating. Replacement is a relatively involved process.
- AC Compressor: Check for leaks and proper functionality.
- Control Knobs and Switches: Replace worn or broken knobs and switches to improve functionality.
- Vacuum Lines: Inspect vacuum lines for leaks, which can affect the operation of the heater and AC.
- Radio and Speakers:
- Upgrade Options: Replace the factory radio with a modern head unit featuring Bluetooth connectivity, USB ports, and improved sound quality.
- Speaker Replacement: Upgrade the factory speakers for better audio performance.
- Wiring Harness: Ensure proper wiring connections for optimal performance.
- Power Windows and Locks:
- Motor Replacement: Power window and lock motors can fail over time. Replacement is a straightforward process.
- Switches: Replace worn or broken switches.
- Wiring: Check wiring for damage or corrosion.
IV. Safety Features: Ensuring Protection
These components are critical for occupant safety.
- Seat Belts:
- Inspection: Check for fraying, tears, and proper functionality.
- Replacement: Replace damaged or non-functioning seat belts immediately.
- Airbags:
- Warning Lights: Address any airbag warning lights promptly.
- Professional Inspection: Consult a qualified mechanic for airbag system repairs.
- Interior Lighting:
- Dome Light: Ensure the dome light is working properly for visibility.
- Courtesy Lights: Replace burnt-out bulbs in the door panels and other areas.
V. Sourcing Parts and Tools
Finding the right parts is crucial for a successful restoration.
- Online Retailers: Websites like Amazon, eBay, and Quadratec offer a wide selection of '96 Cherokee interior parts.
- Local Auto Parts Stores: Check with local auto parts stores for common replacement items.
- Junkyards: A great source for used parts, especially if you're on a budget.
- Jeep Forums and Clubs: Connect with other Cherokee owners for advice and recommendations on parts sourcing.
Essential Tools:
- Screwdrivers (Phillips and flathead)
- Socket set
- Pliers
- Hog ring pliers (for upholstery)
- Wire strippers and crimpers
- Multimeter
- Interior trim removal tools
VI. Tips and Potential Challenges
- Take Photos: Before disassembling anything, take photos to document the wiring and component locations.
- Label Everything: Label all wires and connectors to avoid confusion during reassembly.
- Consult a Repair Manual: A repair manual specific to the '96 Cherokee provides detailed instructions and diagrams.
- Patience is Key: Interior restoration can be time-consuming. Take your time and be methodical.
- Wiring Issues: Diagnosing and repairing electrical problems can be challenging. Consult a qualified mechanic if you're not comfortable working with electrical systems.
- Finding Matching Colors: Matching the original interior colors can be difficult. Order samples before purchasing upholstery or trim pieces.
VII. Table Price of '96 Jeep Cherokee Interior Parts
| Part | Description | Approximate Price Range | Notes |
|---|---|---|---|
| Seat Upholstery Kit (Front & Rear) | Replacement seat covers, fabric or vinyl | $150 - $400 | Price varies by material and quality. |
| Molded Carpet Kit | Direct replacement carpet for the entire floor | $100 - $250 | Available in various colors; consider sound dampening underlayment. |
| Headliner Board with Fabric | Pre-covered headliner board | $80 - $150 | Check for correct color and style. |
| Dashboard Cover | Cover to hide cracks and imperfections | $30 - $80 | Available in different materials and colors. |
| Door Panel (Each) | Replacement door panel | $50 - $150 | Price varies by condition (new vs. used) and features. |
| Center Console | Complete replacement center console | $75 - $200 | Consider features like cupholders and storage compartments. |
| Heater Core | Replacement heater core | $40 - $100 | A common failure point; consider replacing hoses at the same time. |
| AC Compressor | Replacement AC compressor | $150 - $300 | Requires professional installation and refrigerant recharge. |
| Radio/Head Unit (Aftermarket) | Modern head unit with Bluetooth, USB, etc. | $50 - $300 | Price varies widely based on features and brand. |
| Speakers (Pair) | Replacement speakers for front or rear doors | $30 - $100 | Consider component speakers for better sound quality. |
| Power Window Motor (Each) | Replacement power window motor | $30 - $75 | Check compatibility with your specific window regulator. |
| Seat Belt (Each) | Replacement seat belt assembly | $50 - $100 | Prioritize safety; replace damaged or non-functioning seat belts. |
| Instrument Cluster Bulb Kit | Complete set of replacement bulbs for the cluster | $10 - $20 | An easy way to improve visibility. |
| Interior Trim Removal Tool Set | Set of tools for removing interior trim without damage | $15 - $30 | Essential for preventing damage to plastic trim pieces. |
VIII. Frequently Asked Questions (FAQ)
-
Q: Where can I find the paint code for my Cherokee's interior?
- A: The interior paint code is usually located on the driver's side door jamb, on a sticker.
-
Q: How do I remove stubborn stains from my Cherokee's seats?
- A: Try a dedicated automotive upholstery cleaner. For tough stains, consider using a steam cleaner or hiring a professional detailer.
-
Q: Can I install a new headliner myself, or should I hire a professional?
- A: Installing a headliner yourself is possible, but it requires patience and attention to detail. If you're not comfortable working with adhesives and trim pieces, it's best to hire a professional.
-
Q: What's the best way to prevent my dashboard from cracking?
- A: Use a dashboard protectant that contains UV inhibitors. Park your Cherokee in the shade whenever possible.
-
Q: Are there any specific tools I need to replace the heater core?
- A: You'll need a socket set, screwdrivers, pliers, and possibly a coolant drain pan. Consult a repair manual for specific instructions.
Conclusion
Restoring the interior of a 1996 Jeep Cherokee is a rewarding project that can significantly enhance your driving experience and the value of your vehicle. By understanding the various components, sourcing the right parts, and following these tips, you can breathe new life into this iconic off-roader. Remember to prioritize safety, take your time, and enjoy the process of transforming your Cherokee's interior into a comfortable and personalized space. Happy wrenching!
0 comments