The Jeep JK, produced from 2007 to 2018, is a legendary vehicle known for its rugged off-road capability and iconic design. However, years of sun exposure, mud-slinging adventures, and general wear and tear can take a toll on its interior trim. Faded plastics, cracked panels, and ripped upholstery can detract from the overall driving experience. That's where Jeep JK interior trim replacement parts come in. This comprehensive guide will explore everything you need to know about restoring or upgrading your JK's interior, from identifying the right parts to tackling the replacement process.
Why Replace Your Jeep JK Interior Trim?
Revitalize Your Ride: A Comprehensive Guide to Jeep JK Interior Trim Replacement Parts
Replacing your Jeep JK's interior trim isn't just about aesthetics; it's about preserving the value and functionality of your vehicle. Here's why it's important:
- Restoration: Returning your JK to its original glory, especially if you're a purist or planning to sell.
- Upgrade: Personalizing your interior to reflect your style and preferences with aftermarket options.
- Damage Repair: Addressing cracks, tears, and fading caused by UV exposure, wear, or accidents.
- Improved Comfort: Replacing worn-out seats or adding features like grab handles for a more comfortable ride.
- Increased Resale Value: A well-maintained interior significantly boosts a vehicle's resale value.

Identifying the Right Interior Trim Replacement Parts
Before diving into the replacement process, it's crucial to accurately identify the parts you need. The Jeep JK's interior comprises numerous components, each with specific variations depending on the year, trim level (Sport, Sahara, Rubicon), and options package. Here's a breakdown of common interior trim parts and how to identify them:
- Dashboard Components:
- Dashboard Pad: The main section of the dashboard. Check for cracks, fading, or warping. Note the color and material.
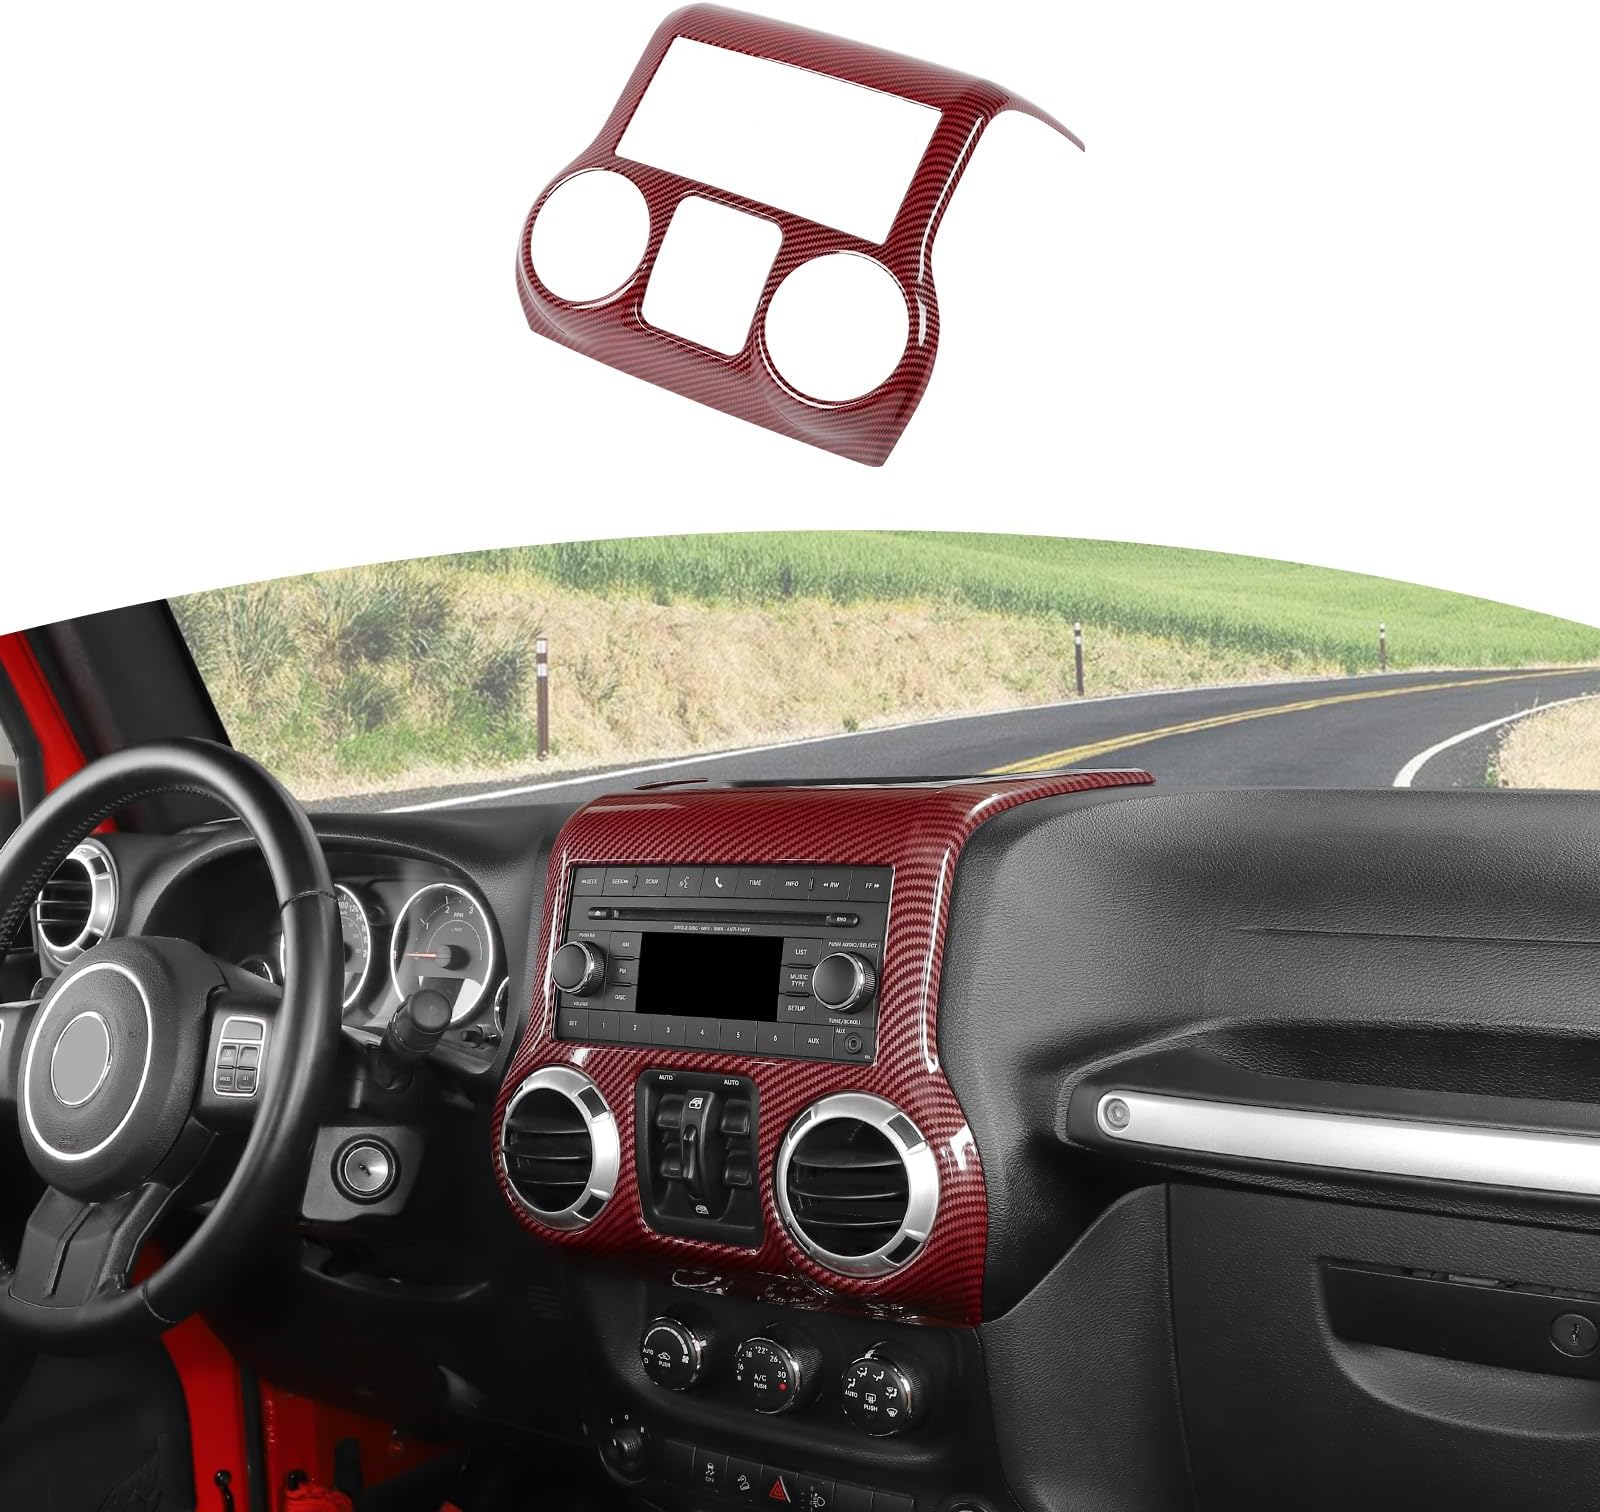
- Dashboard Bezels: Surrounding the radio, climate controls, and instrument cluster. Look for scratches, cracks, or broken mounting tabs.
- Glove Box: The door and interior liner. Inspect for damage to the latch, hinges, or interior.
- Center Console: The console between the front seats, including the lid, shifter surround, and cup holders.

- Door Components:
- Door Panels: The interior trim covering the door. Examine for rips, tears, stains, or damage to the speaker grilles.
- Door Handles (Interior): Check for broken or loose handles.
- Window Cranks/Switches: If applicable, inspect for smooth operation and damage.
- Door Sills: The trim along the bottom of the door opening. Look for scratches, dents, or rust.
- Seating Components:
- Seat Covers: The fabric or leather covering the seats. Look for rips, tears, stains, or excessive wear.
- Seat Cushions: The foam padding inside the seats. Check for sagging or compression.
- Seat Frames: The metal structure of the seats. Inspect for rust or damage.
- Headrests: Check for wear and tear on the material.
- Flooring Components:
- Carpeting: The floor covering. Examine for stains, tears, or excessive wear.
- Floor Mats: Check for wear and tear and proper fit.
- Headliner Components:
- Headliner: The fabric covering the roof interior. Inspect for sagging, stains, or damage.
- Other Interior Trim:
- Sun Visors: Check for wear and tear on the material.
- Grab Handles: Check for secure mounting and damage.
- Interior Lights: Check for functionality and damage to the lenses.
- Trim Panels (Pillars, etc.): These panels cover the pillars and other areas. Inspect for cracks, fading, or loose mounting.
Finding the Right Parts:
Once you've identified the parts you need, here are your options for sourcing them:
- OEM (Original Equipment Manufacturer) Parts: These are the same parts that came with your Jeep from the factory. They offer the best fit and finish but can be more expensive. You can purchase them from Jeep dealerships or online Mopar parts retailers.
- Aftermarket Parts: These are parts manufactured by companies other than Jeep. They often offer a wider range of styles, materials, and price points. Be sure to choose reputable brands known for quality.
- Used Parts: Sourcing used parts from junkyards or online marketplaces can be a cost-effective option, but be sure to inspect them carefully for damage before purchasing.
Tools and Materials Needed for Interior Trim Replacement
Before you start replacing your interior trim, gather the necessary tools and materials. This will ensure a smooth and efficient process.
- Screwdrivers (Phillips and Flathead): Various sizes for removing screws and prying panels.
- Socket Set: For removing bolts and nuts.
- Pliers: For gripping and manipulating parts.
- Panel Removal Tool: A specialized tool for safely removing plastic trim panels without damaging them.
- Trim Removal Tool Set: A set of tools designed to remove interior trim components.
- Shop Rags: For cleaning surfaces.
- Vacuum Cleaner: For cleaning up debris.
- Cleaning Solution: For cleaning interior surfaces.
- Adhesive Remover: For removing old adhesive residue.
- New Clips and Fasteners: Many trim pieces are held in place by plastic clips that can break during removal. Have replacements on hand.
- Work Gloves: To protect your hands.
- Safety Glasses: To protect your eyes.
Step-by-Step Guide to Replacing Common Interior Trim Parts
While each trim piece has its own specific removal and installation procedure, here's a general guide to replacing some common components:
1. Door Panels:
- Preparation: Disconnect the negative battery terminal to prevent electrical shorts.
- Removal:
- Remove any screws or bolts securing the panel.
- Use a panel removal tool to carefully pry the panel away from the door, starting at the bottom.
- Disconnect any electrical connectors (window switches, door locks, etc.).
- Lift the panel up and off the door.
- Installation:
- Connect any electrical connectors.
- Align the panel with the door and press it into place, ensuring all clips are engaged.
- Reinstall any screws or bolts.
2. Center Console:
- Preparation: Disconnect the negative battery terminal.
- Removal:
- Remove the shift knob (if applicable).
- Remove any screws or bolts securing the console.
- Disconnect any electrical connectors (if applicable).
- Lift the console up and out of the vehicle.
- Installation:
- Connect any electrical connectors.
- Align the console with the mounting points and press it into place.
- Reinstall any screws or bolts.
- Reinstall the shift knob.
3. Dashboard Bezels:
- Preparation: Disconnect the negative battery terminal.
- Removal:
- Use a panel removal tool to carefully pry the bezel away from the dashboard.
- Disconnect any electrical connectors (if applicable).
- Installation:
- Connect any electrical connectors.
- Align the bezel with the dashboard and press it into place until it clicks into place.
4. Seat Covers:
- Preparation: Remove the seat from the vehicle.
- Removal:
- Carefully remove the old seat cover, paying attention to how it's attached (hog rings, Velcro, etc.).
- Remove any hog rings or other fasteners.
- Installation:
- Install the new seat cover, carefully aligning it with the seat frame.
- Secure the cover with hog rings or other fasteners.
- Reinstall the seat in the vehicle.
Tips for a Successful Interior Trim Replacement
- Take Pictures: Before removing any trim pieces, take pictures to document the location of screws, clips, and connectors.
- Work Carefully: Be gentle when removing trim panels to avoid breaking clips or damaging the surrounding areas.
- Use the Right Tools: Using the correct tools will make the job easier and prevent damage to your vehicle.
- Organize Your Parts: Keep track of all screws, clips, and fasteners to avoid losing them.
- Clean as You Go: Clean the area behind the trim before installing the new piece.
- Consult a Professional: If you're not comfortable replacing interior trim yourself, consult a professional mechanic or auto body shop.
Potential Challenges and Solutions
- Broken Clips: Plastic clips are prone to breaking during removal. Have replacements on hand.
- Stripped Screws: If a screw is stripped, try using a rubber band or steel wool to improve grip. If that doesn't work, use a screw extractor.
- Difficult-to-Remove Panels: Some panels may be difficult to remove. Be patient and use a panel removal tool to carefully pry them away.
- Mismatched Colors: If you're replacing trim pieces with aftermarket parts, ensure the colors match the existing interior.
Price Table for Jeep JK Interior Trim Replacement Parts
| Part Description | OEM Price (Approx.) | Aftermarket Price (Approx.) | Used Price (Approx.) | Notes |
|---|---|---|---|---|
| Dashboard Pad | $500 - $800 | $300 - $600 | $150 - $300 | Prices vary greatly depending on color, material, and condition. |
| Door Panel (Single) | $200 - $400 | $100 - $300 | $50 - $150 | Price depends on trim level and features (power windows, etc.). |
| Seat Cover Set (Front Pair) | $400 - $1000 | $200 - $600 | $100 - $300 | Leather seat covers are significantly more expensive than cloth. |
| Center Console | $300 - $500 | $150 - $350 | $75 - $200 | Price depends on features (locking console, etc.). |
| Floor Carpet Kit | $200 - $400 | $100 - $300 | N/A (Condition Vary) | Installation can be time-consuming. |
| Headliner | $200 - $350 | $100 - $250 | N/A (Condition Vary) | Installation can be tricky and may require professional assistance. |
| Interior Door Handle | $50 - $100 | $25 - $75 | $15 - $40 | Price depends on if it is a front or rear door handle. |
| Sun Visor | $75 - $150 | $40 - $100 | $20 - $60 | Price depends on features. |
| Grab Handle | $40 - $80 | $20 - $60 | $10 - $30 | Price depends on if it is a front or rear grab handle. |
Frequently Asked Questions (FAQ)
- Q: Where can I buy Jeep JK interior trim replacement parts?
- A: You can purchase parts from Jeep dealerships, online Mopar parts retailers, aftermarket parts suppliers, and junkyards.
- Q: How much does it cost to replace Jeep JK interior trim?
- A: The cost varies depending on the parts you need to replace, the source (OEM, aftermarket, used), and whether you do the work yourself or hire a professional.
- Q: Is it difficult to replace Jeep JK interior trim myself?
- A: Some trim pieces are easier to replace than others. Replacing door panels or seat covers is generally straightforward, while replacing the dashboard or headliner can be more challenging.
- Q: What are the best aftermarket brands for Jeep JK interior trim?
- A: Some popular aftermarket brands include Rugged Ridge, Smittybilt, and Bestop.
- Q: How can I prevent my Jeep JK interior trim from fading or cracking?
- A: Park your Jeep in the shade or use a sunshade. Use a UV protectant on interior surfaces. Regularly clean your interior.
Conclusion
Replacing your Jeep JK's interior trim is a rewarding project that can revitalize your ride and improve your driving experience. By carefully identifying the parts you need, gathering the necessary tools, and following the steps outlined in this guide, you can restore your JK's interior to its former glory. Whether you're aiming for a factory-fresh restoration or a personalized upgrade, replacing your interior trim is a worthwhile investment in your Jeep's value and enjoyment. So, get ready to roll up your sleeves and give your JK the interior makeover it deserves!
0 comments